Create & access your staging environment for A/B test QA with Requestly
Building experiments requires publishing experimental code to your website. In order to protect your mission-critical apps, it's recommended you publish and test code in a STAGING environment before you publish it into PRODUCTION. Doing so lets you catch heinous bugs before your users may encounter them.
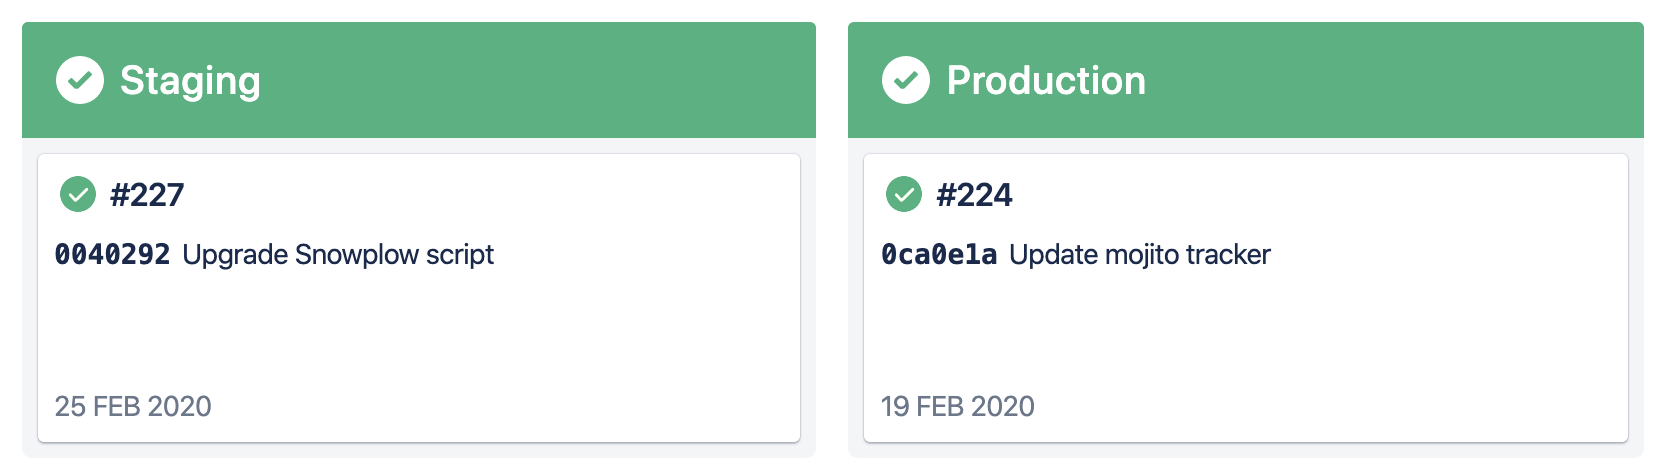
Here you can see an example of us testing some tracking updates in STAGING before merging into master and rolling them out to PRODUCTION:
Pre-requisites:
- You know how to create a simple experiment in Mojito.
- You're hoting Mojito JS Delivery using AWS S3 or some other hosting mechanism in Mojito.
The two environments
Mojito supports two environments you can publish to:
| Environment | Use-case |
|---|---|
STAGING | Used for testing of code during the development & QA process. Publish access is typically open to many users and the development git branch publishes here as soon as commits are made to that branch. |
PRODUCTION | After experiments have been QA'd and cleared for launch, they're ready for the PRODUCTION environment. Typically, only users with permission to publish to production should have access to this environment. We typically let master git branches publish here as part of our CI pipelines. |
Making full use of these two environments should allow you to safely deploy experiments to your users. Typically, you just need to swap the PRODUCTION container URL for the STAGING container URL for running experiments.
1. Find/configure your staging environment
Inside your Mojito JS Delivery repo, the container paths and names that you specify in your ./config.js, control where your Mojito containers are published:
module.exports = {
    // Name of the container file excluding the file extension (e.g. "name" yields "name.js" when published)
    containerName: 'mintmetrics',
    // Development S3 container
    s3BucketDev: 'mojito-js/jsdev',
    // Production S3 container
    s3BucketPRD: 'mojito-js/js',
    // S3 Region
    s3Region: 'ap-southeast-2'
};
The above example allows us to use distinct URLs or S3 buckets for each environment:
STAGING:https://s3.amazonaws.com/mojito-js/jsdev/mintmetrics.pretty.js(Note the jsdev/ directory as per the config's value? Also note the .pretty suffix?)PRODUCTION:https://s3.amazonaws.com/mojito-js/js/mintmetrics.js(Likely Cloudfront though)
What are ".pretty" containers?
Mojito publishes an unminified container (the ".pretty" version) and a fully minified default container. You may find it easier to debug experiments in an unminified state.
Using S3 or Cloudfront URLs
In production, you will likely use Cloudfront URLs for the fastest delivery. But in staging we recommend using the S3 URL so your browser always loads the freshest version of your container.
2. Setup Requestly
-
Install the Chrome Requestly extension
-
Open Requestly & add a new rule of type, "Redirect Request"
- Add a
Name,Descriptionand configure request redirect rule, like so:
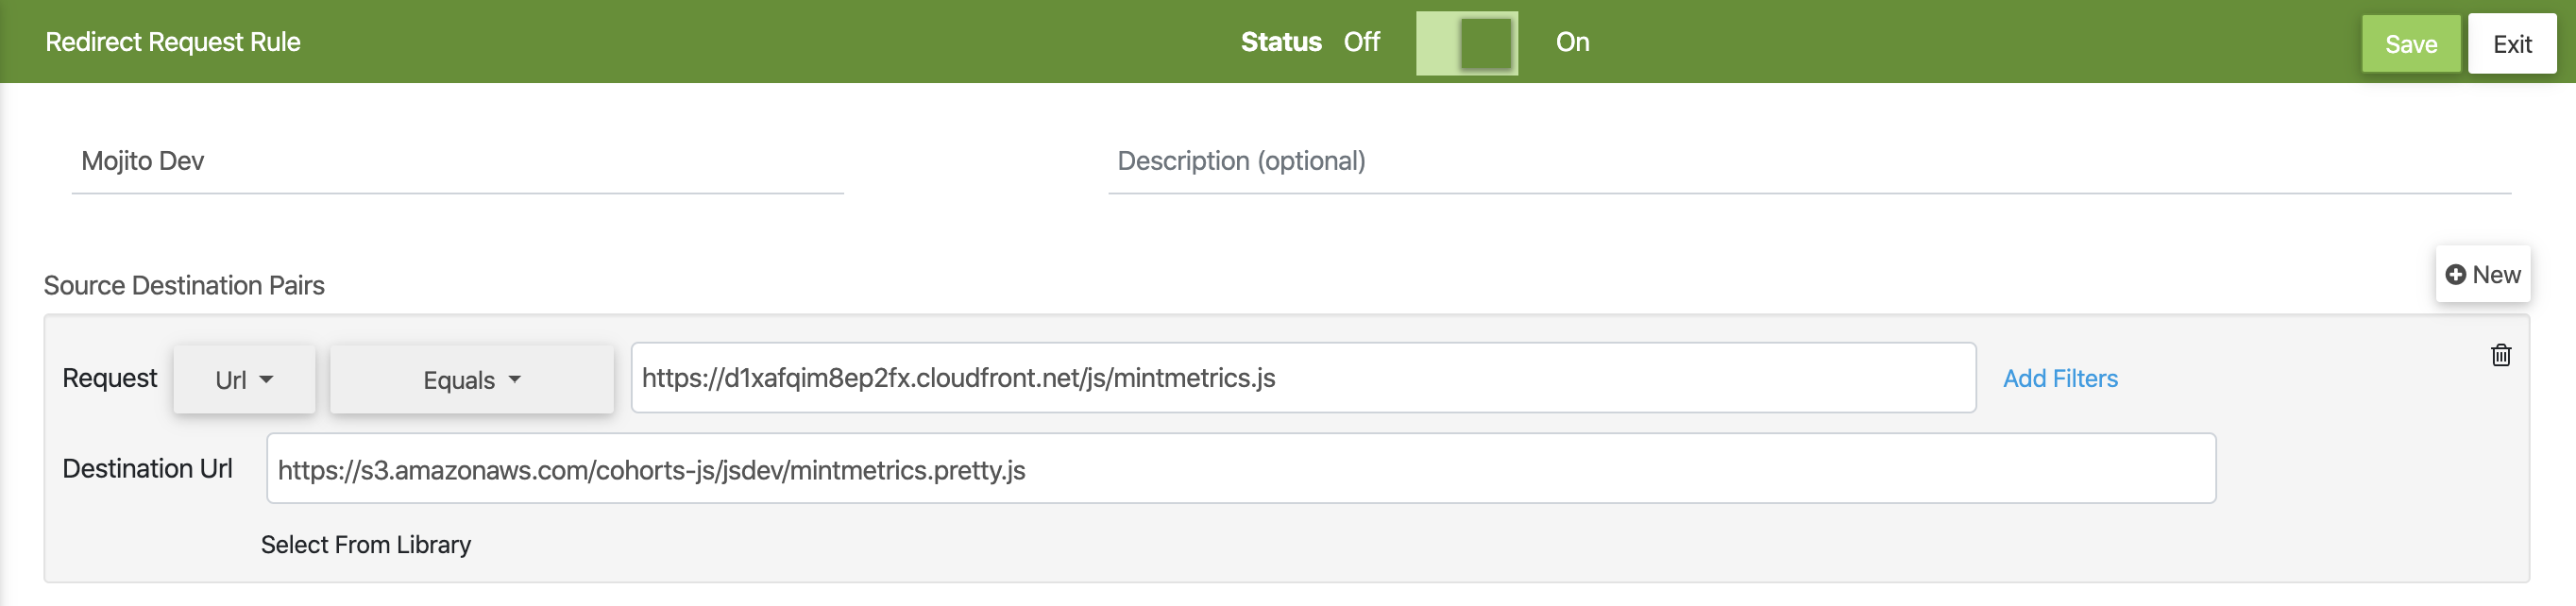
- Hit
Saveand you're ready to test your Mojito staging code over the top of your production site.
Pro tips
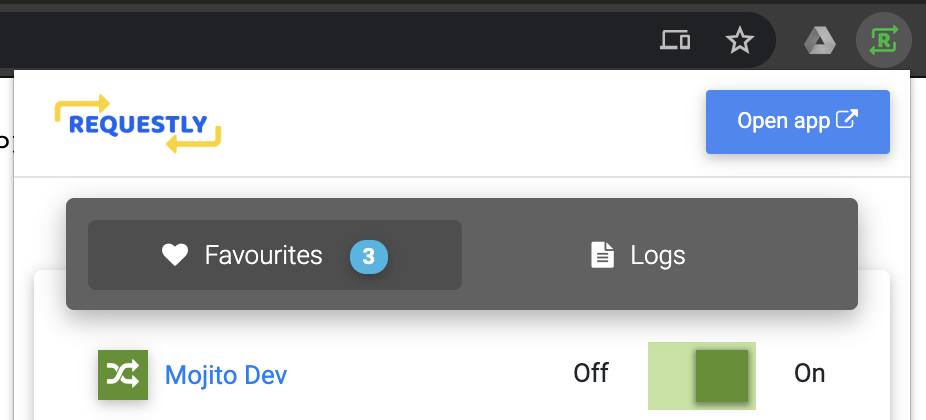
- Mark the rule as a favourite, so you can readily access staging environments from whichever page you're on:
- You can setup additional rules in Requestly to switch between Staging/Pretty, Staging/Minified and Production/Minified for full QA glory.